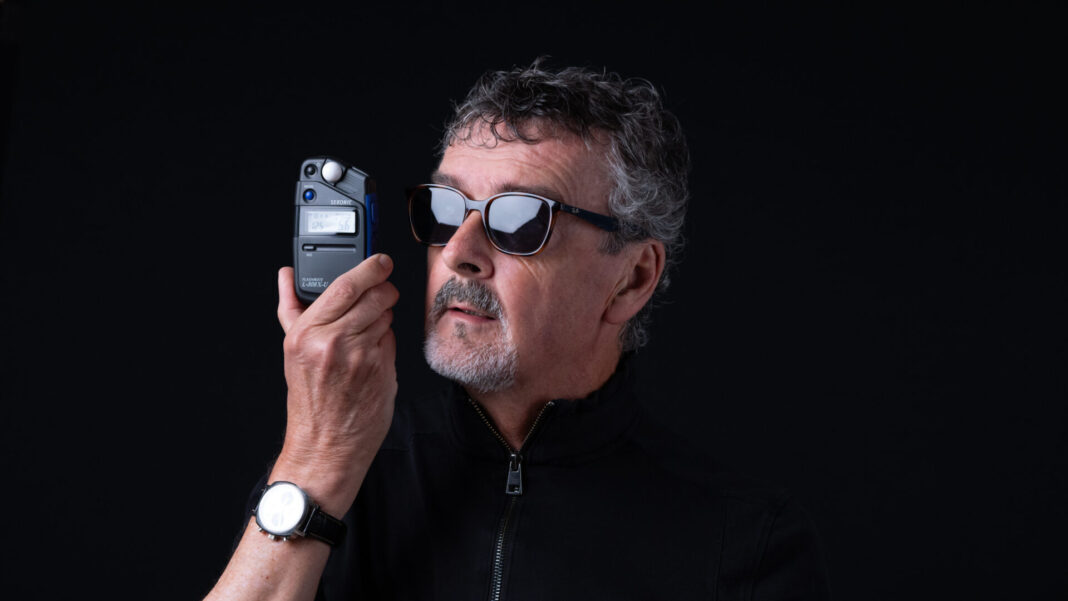
Do you own a hand-held light meter? Until a few weeks ago, my response to that question would have been, no. I might even have muttered something about my camera having a very nice built-in light meter, thank you. But now, my answer would be an emphatic yes. I own the Sekonic Flashmate L-308X-U, and it’s my new favourite photography accessory.
I recently took part in a portrait photography project: ‘Celebrating Seniors’. Along with four other photographers, I photographed patrons of our local senior centre. You can read about my experience here.
As described in the article, it was my first time shooting formal portraits and my first time using artificial lighting. For this project, I chose to use continuous LED lighting, rather than flash. Overall, it went well. It was certainly great fun, and I learned a lot. However, I recognised several areas where I could have done a better job.
Close, but no cigar
One of the areas for improvement was managing exposure. My camera’s built-in light meter tried to balance exposure of subject and background. As a result, to achieve optimal subject exposure, I was forced to make major adjustments during post-processing. This inevitably resulted in a grey or blue rather than black background, despite having a black collapsible backdrop.
I realised that to determine correct exposure for my subject, I should use a light meter close to that subject. In fact, I needed a hand-held light meter measuring incident light at my subject.
Jörg-Peter Rau published a series of articles last year discussing this very topic. He discussed the benefits of measuring incident light, and numerous light meter options for doing so. Until taking on the challenge of portrait photography, I had ignored all this great input. Now, it was time to pay attention.
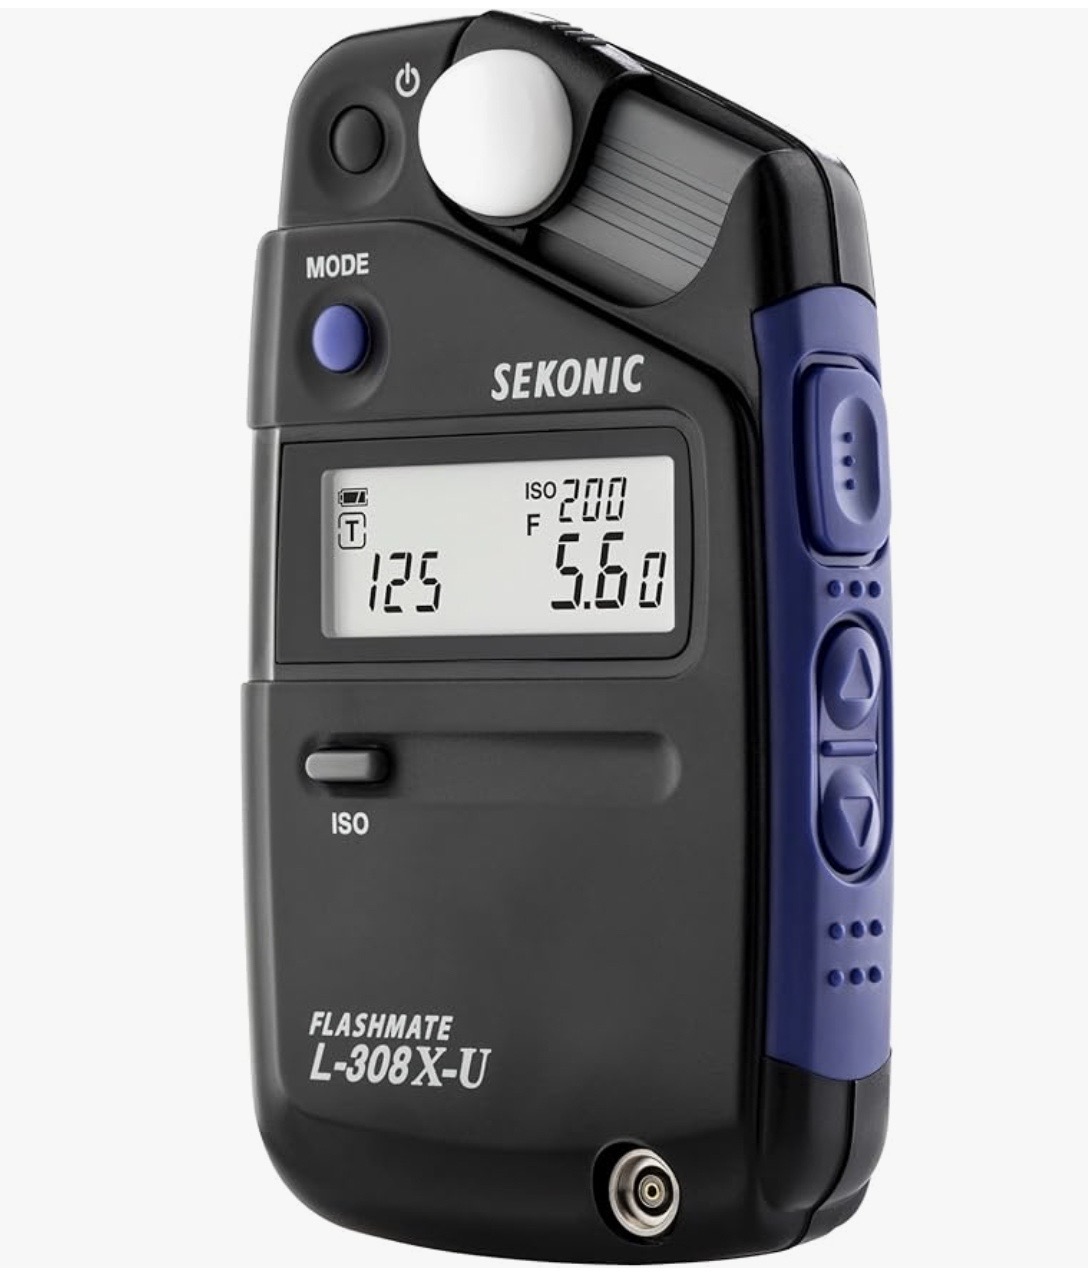
The Sekonic Flashmate L-308X-U
After some research, I decided the right device for me was a Sekonic Flashmate L-308X-U. This piece of kit can handle incident and reflected light, as well as continuous and flash illumination. It is fully digital, and widely used by studio portrait photographers.
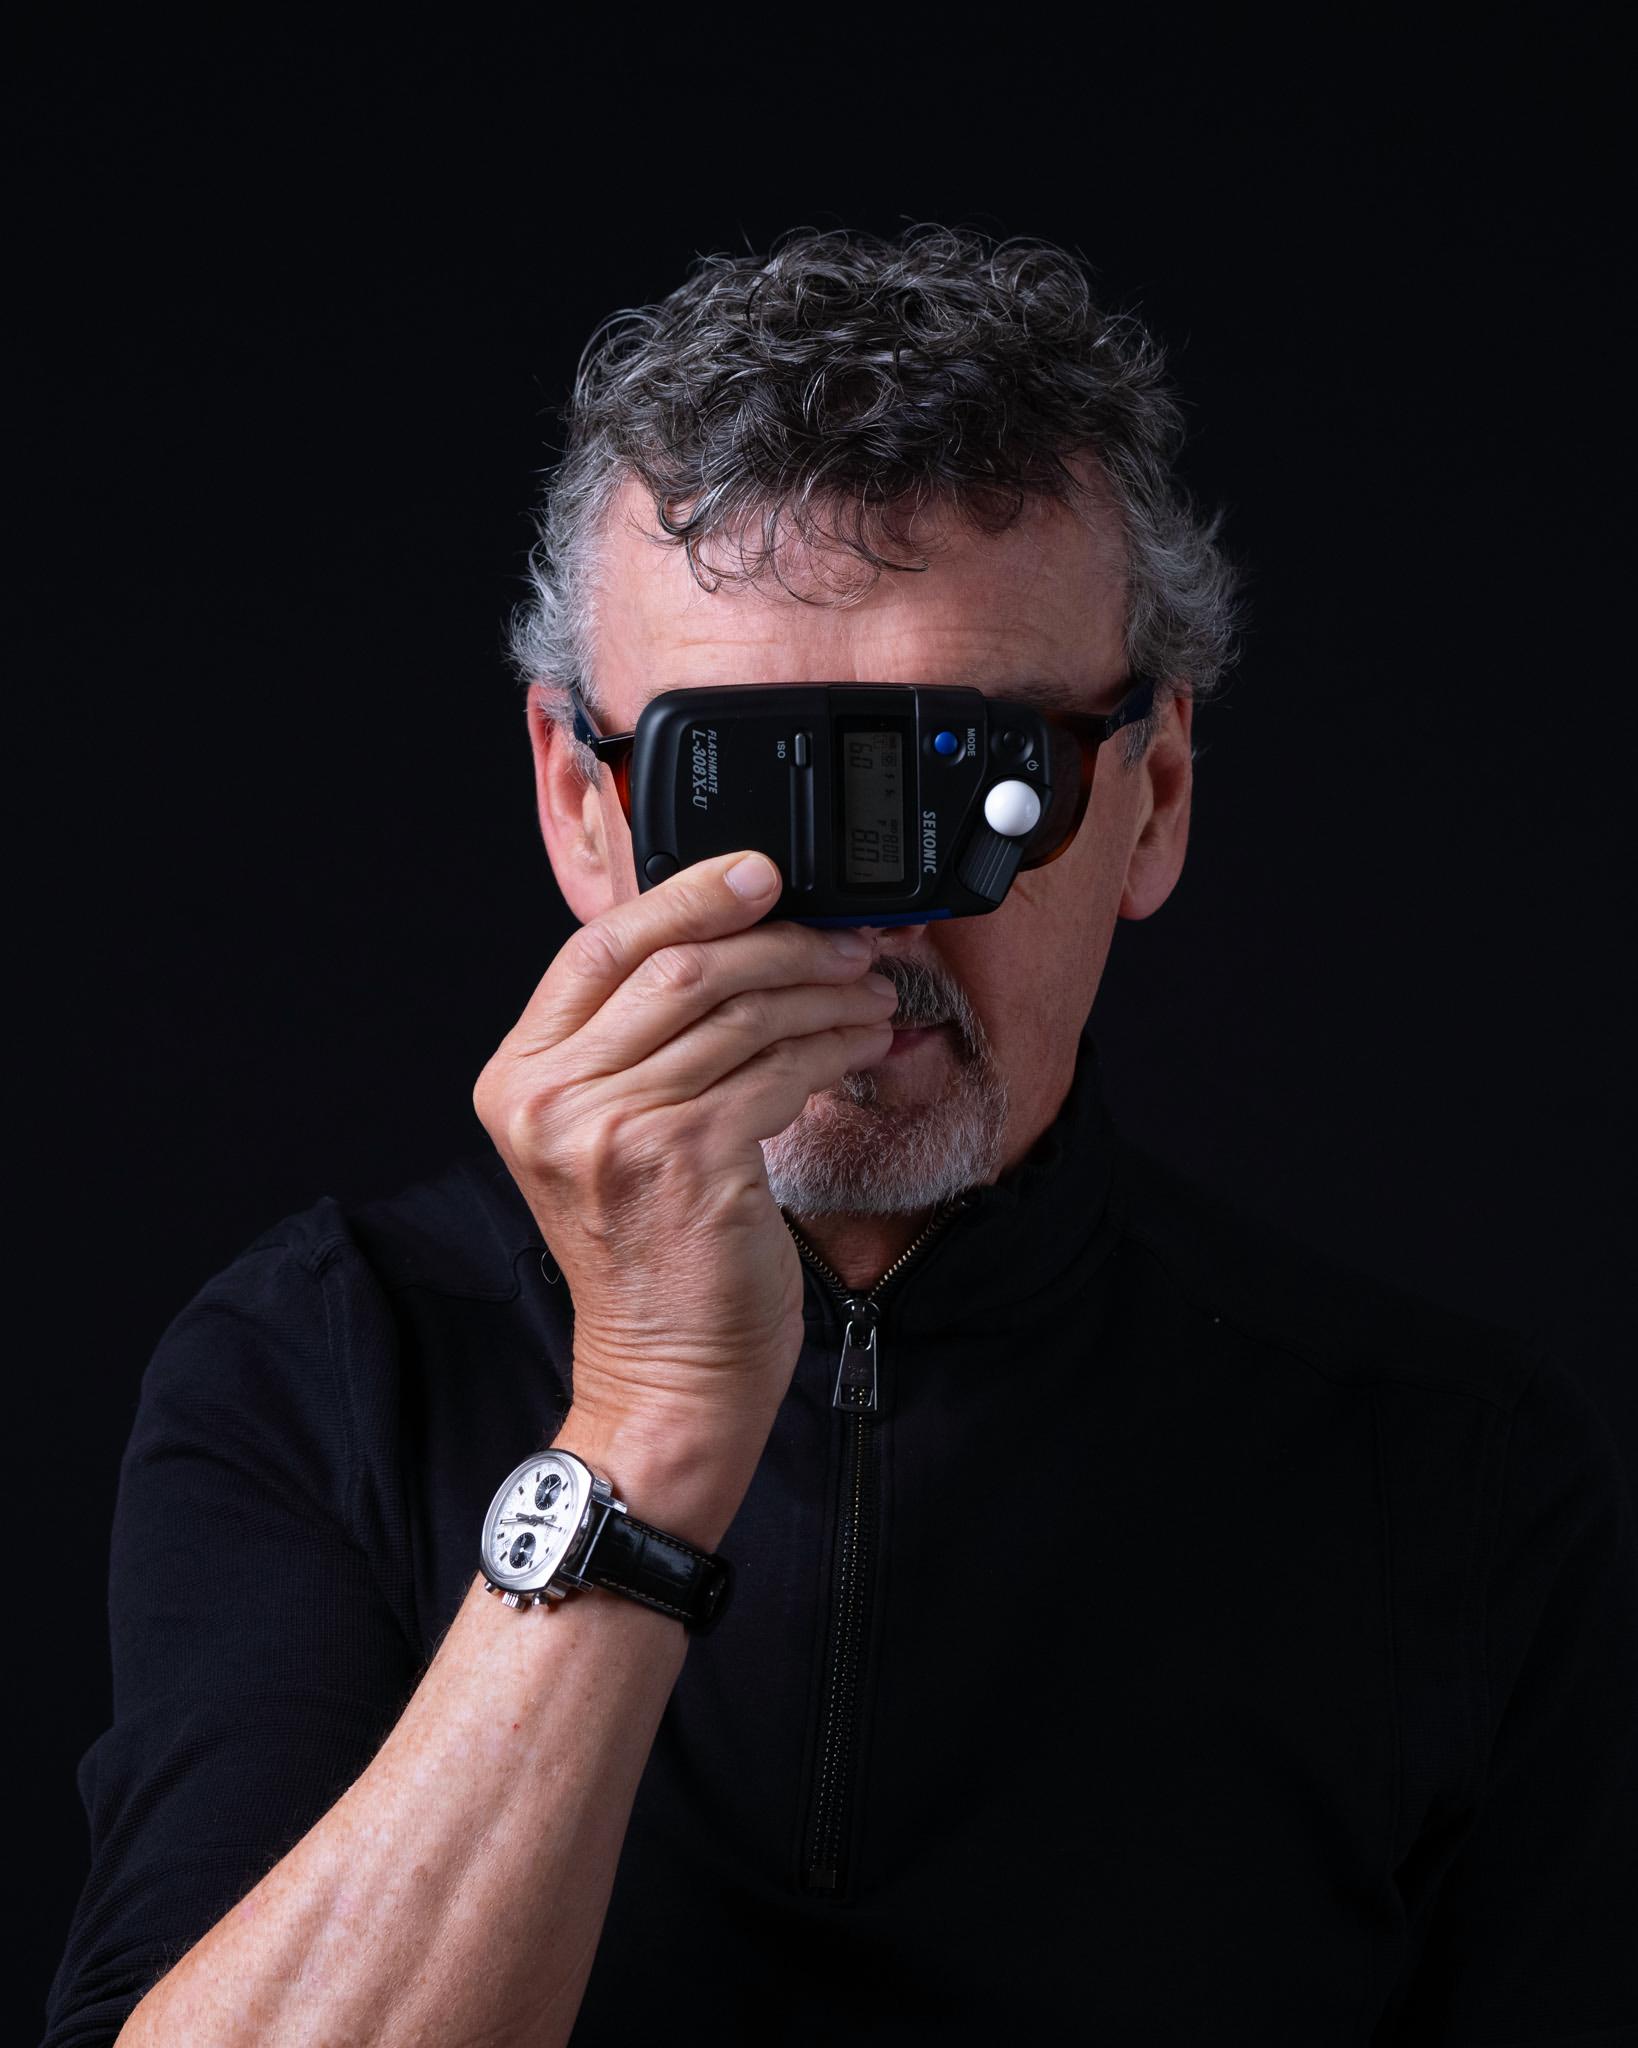
The light meter is effortless to use. After installing a single AA-battery (not supplied) and pressing the on/off button, the LCD screen comes alive. It displays the metering mode (continuous or flash), ISO, shutter-speed, and aperture. On the right-hand side of the device are several buttons. One pair enables increase or decrease in parameters, the other activates an exposure measurement.
By holding down the ISO button on the front of the device, while pressing the up/down buttons at the side of the device, you can change the ISO setting. I chose 800.
Incidentally…
When measuring incident light, a small white hemisphere is switched to the left, covering the light-measuring diode. To measure reflected light, the white hemisphere is moved to the right. The default mode for the device is to measure incident light.
When placed next to the subject, you press the ‘measure’ button, and the meter takes a light reading. The display shows the recommended shutter speed / aperture. In my case, this was 1/125s at f/5.6. Pressing the ‘up’ button, at the side of the device, changes this to 1/60s at f/8. Pressing the ‘down’ button, switches the display to 1/250s at f/4.0. You get the idea.
The aperture figure also indicates how far the reading is between the displayed stop and the next stop. This is presented in increments of 0.1 stops. You might therefore see a figure of f/5.6 1, indicating the reading is very close to f/5.6.
Of the options available, I chose 1/125s at f/5.6 to avoid camera-shake and achieve a reasonable depth-of-field.
Not too flashy
I cannot comment on the use of the Sekonic Flashmate L-308X-U for flash photography. Perhaps this mode of illumination lies somewhere in my future. It looks easy to select either cord- or cordless-flash mode, simply by pressing the blue mode button. Repeated pressing of the button cycles through the available measuring modes.
The Sekonic Flashmate L-308X-U switches itself off after several minutes of non-use, to save battery.
The device is light and easy to use, and I found the controls and LCD readout quite intuitive. It comes with an instruction sheet in multiple languages. There are also plenty of YouTube videos describing the light meter’s functions and how to use them.
The only issue I encountered was an initial tendency to press the blue mode button rather than the smaller on/off button. I consider this a problem with my brain rather than the device.
It works!
This hand-held light meter has transformed the quality of my portrait photography. I can now obtain almost perfect exposure straight out of the camera, even when shooting DNG/RAW. As I adjust the position and intensity of the key light, I can quickly check exposure and reconfigure the camera.
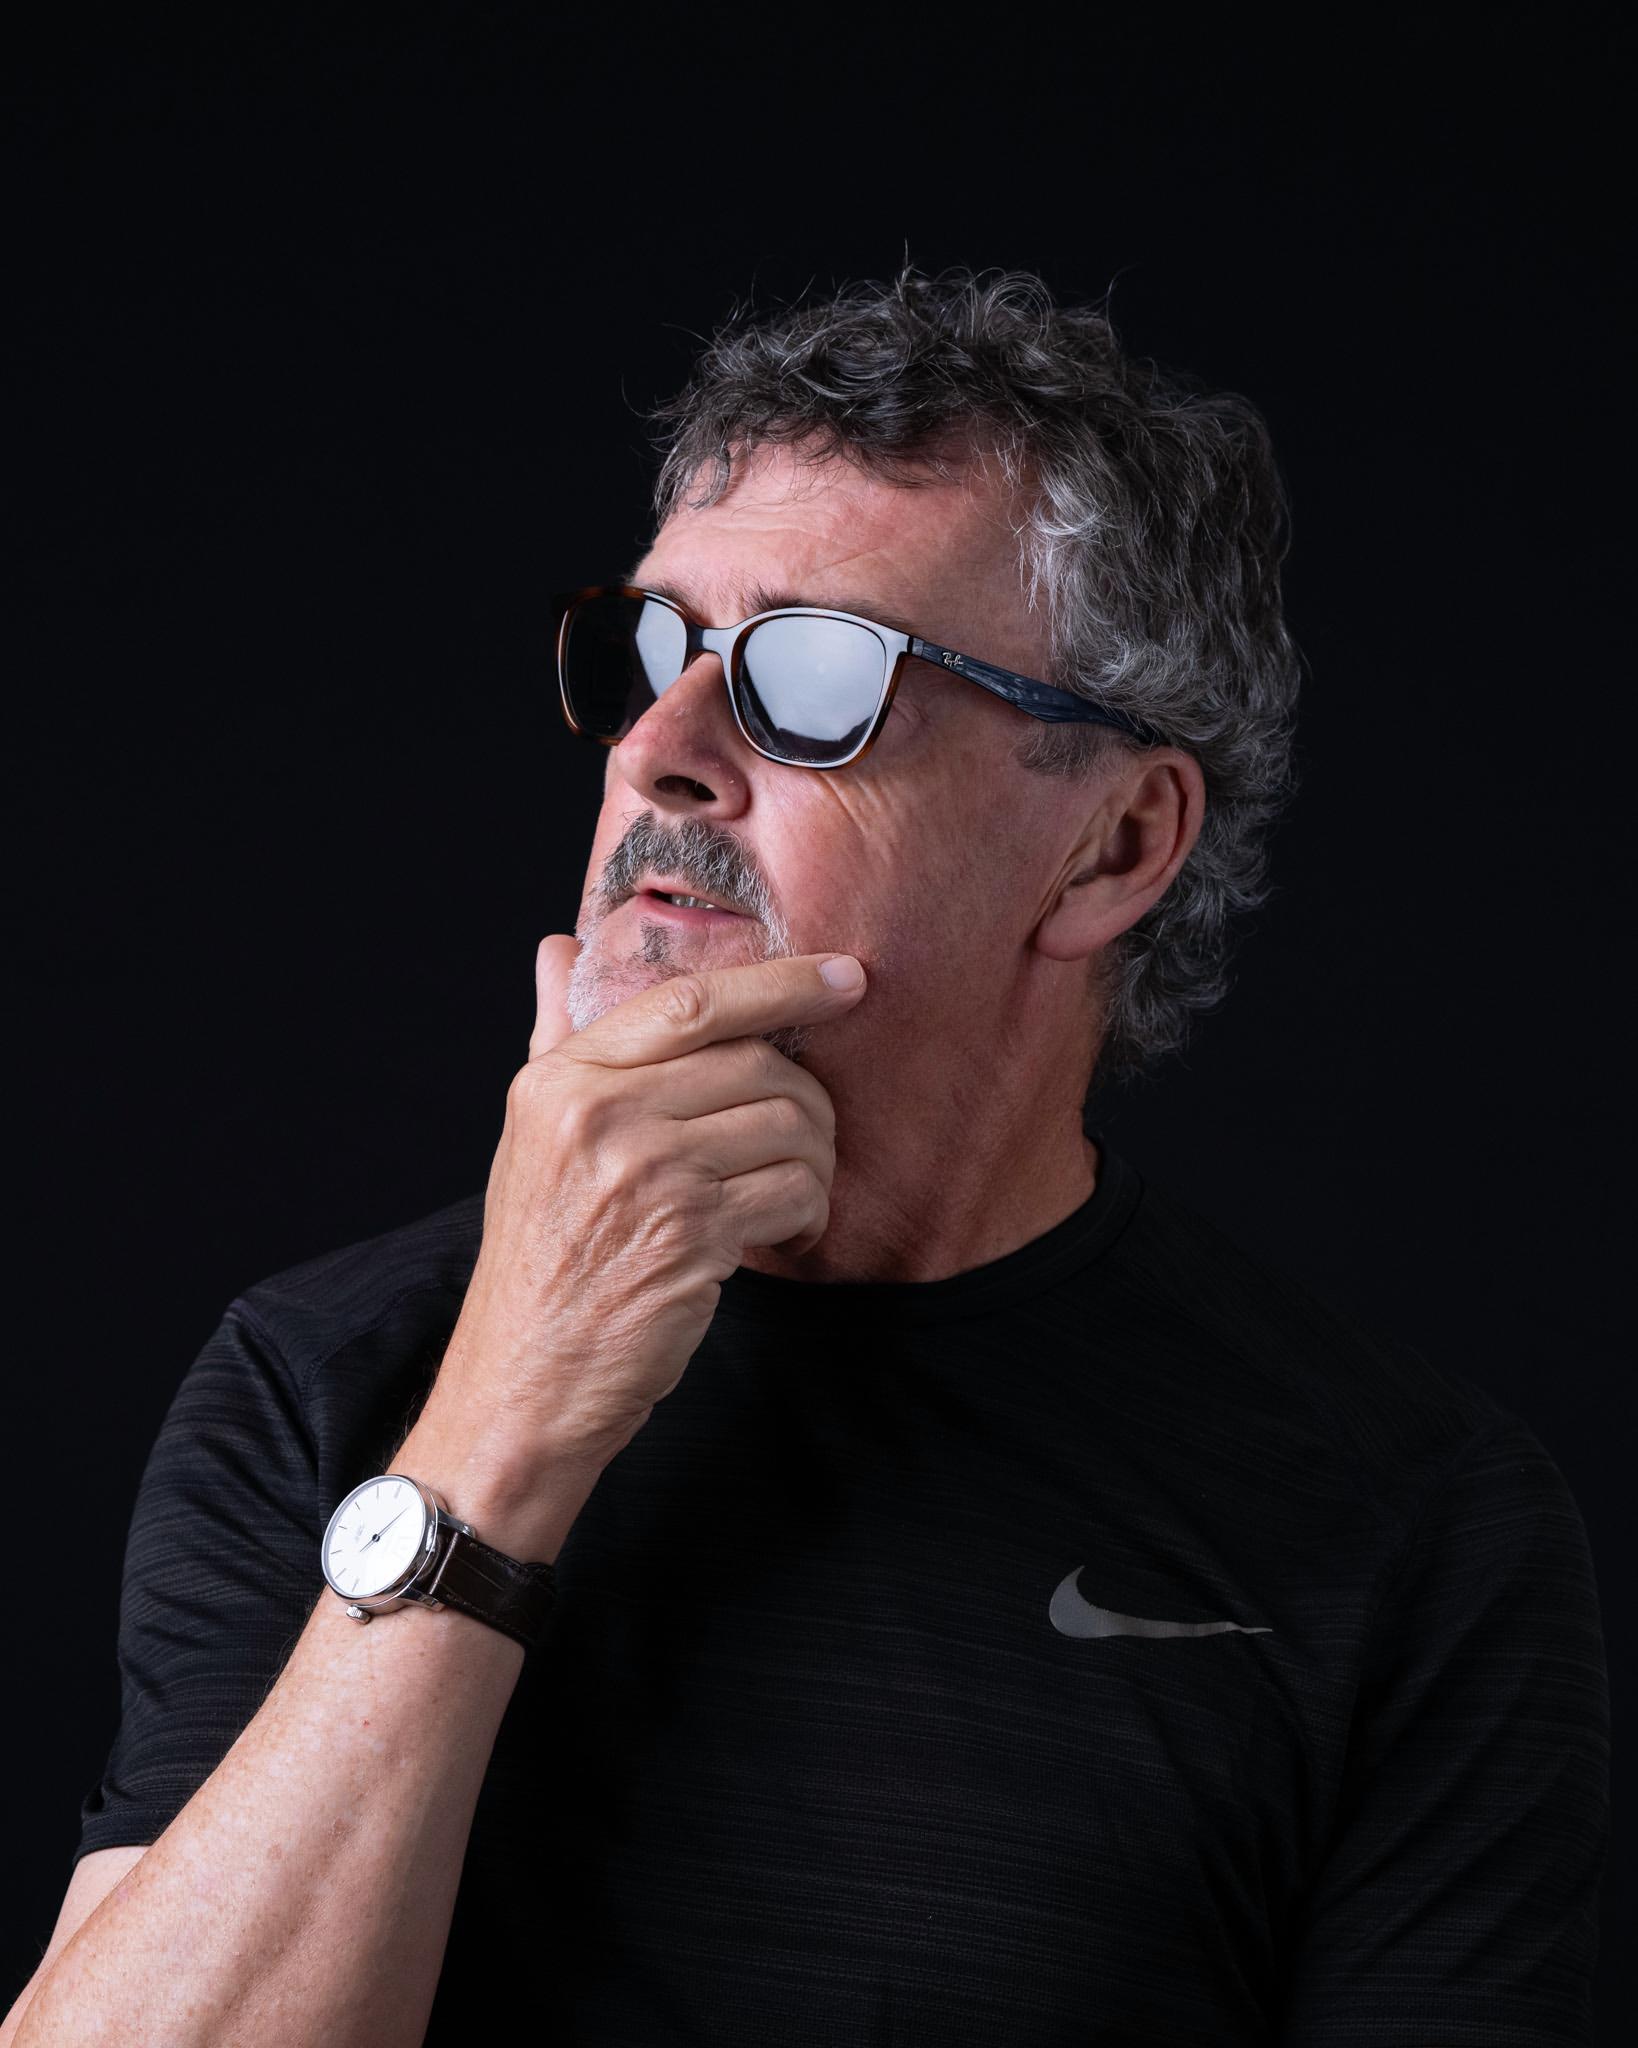
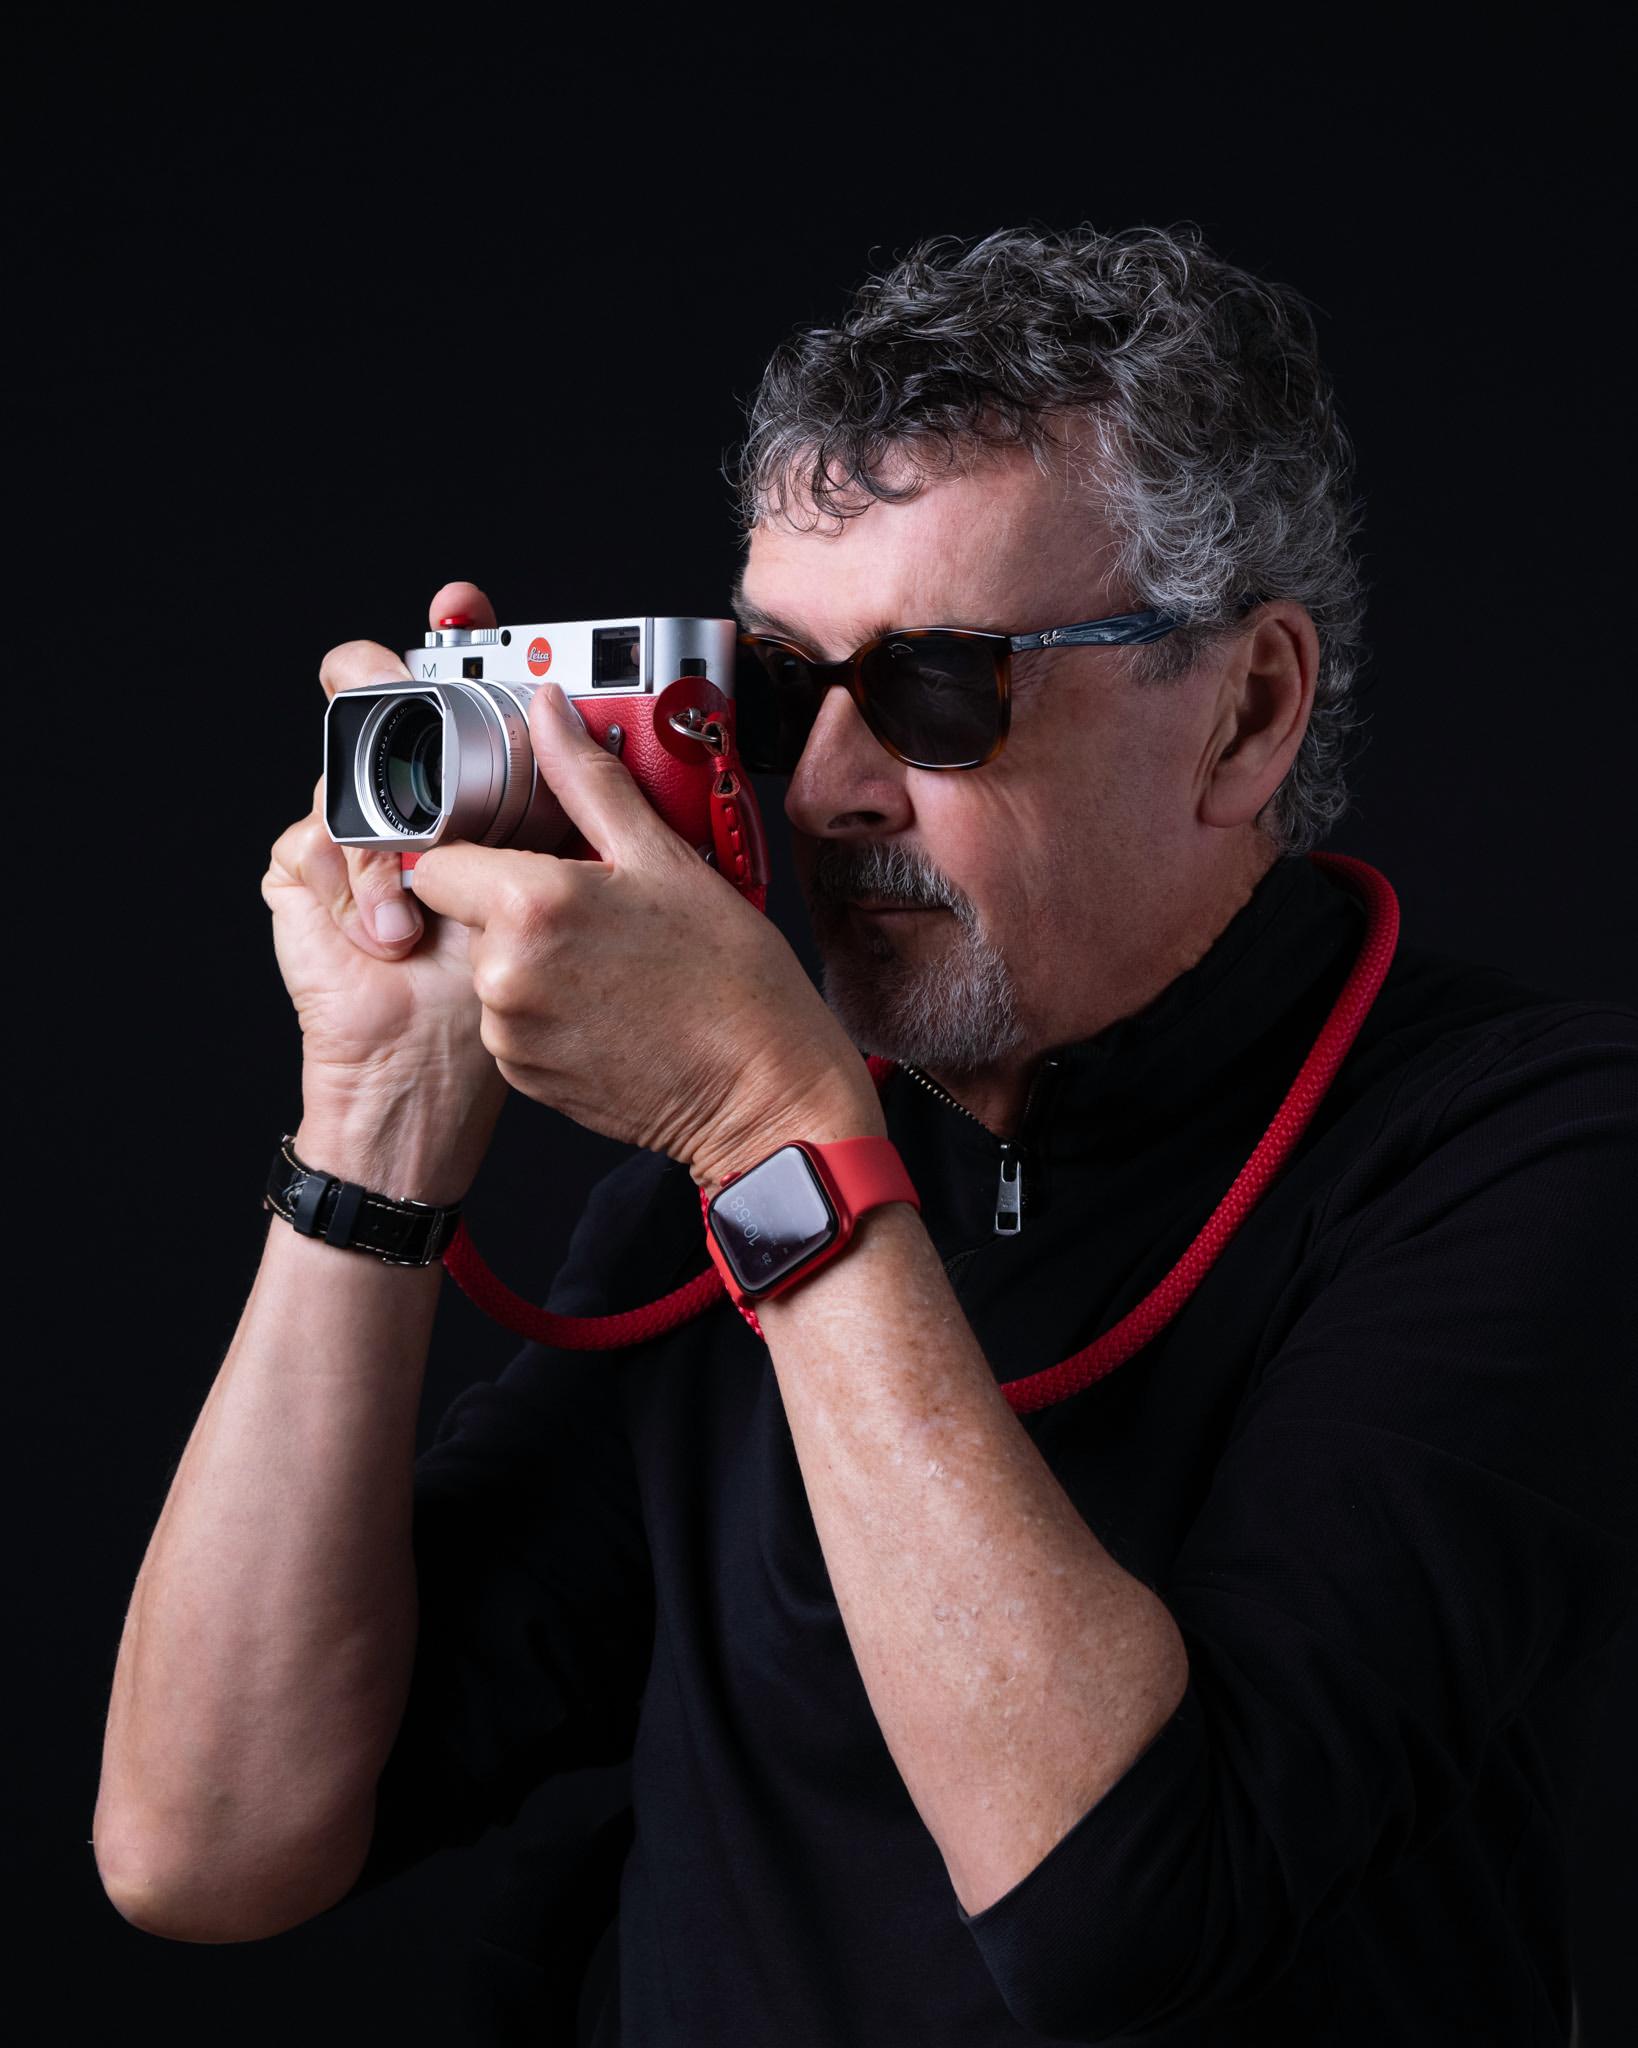
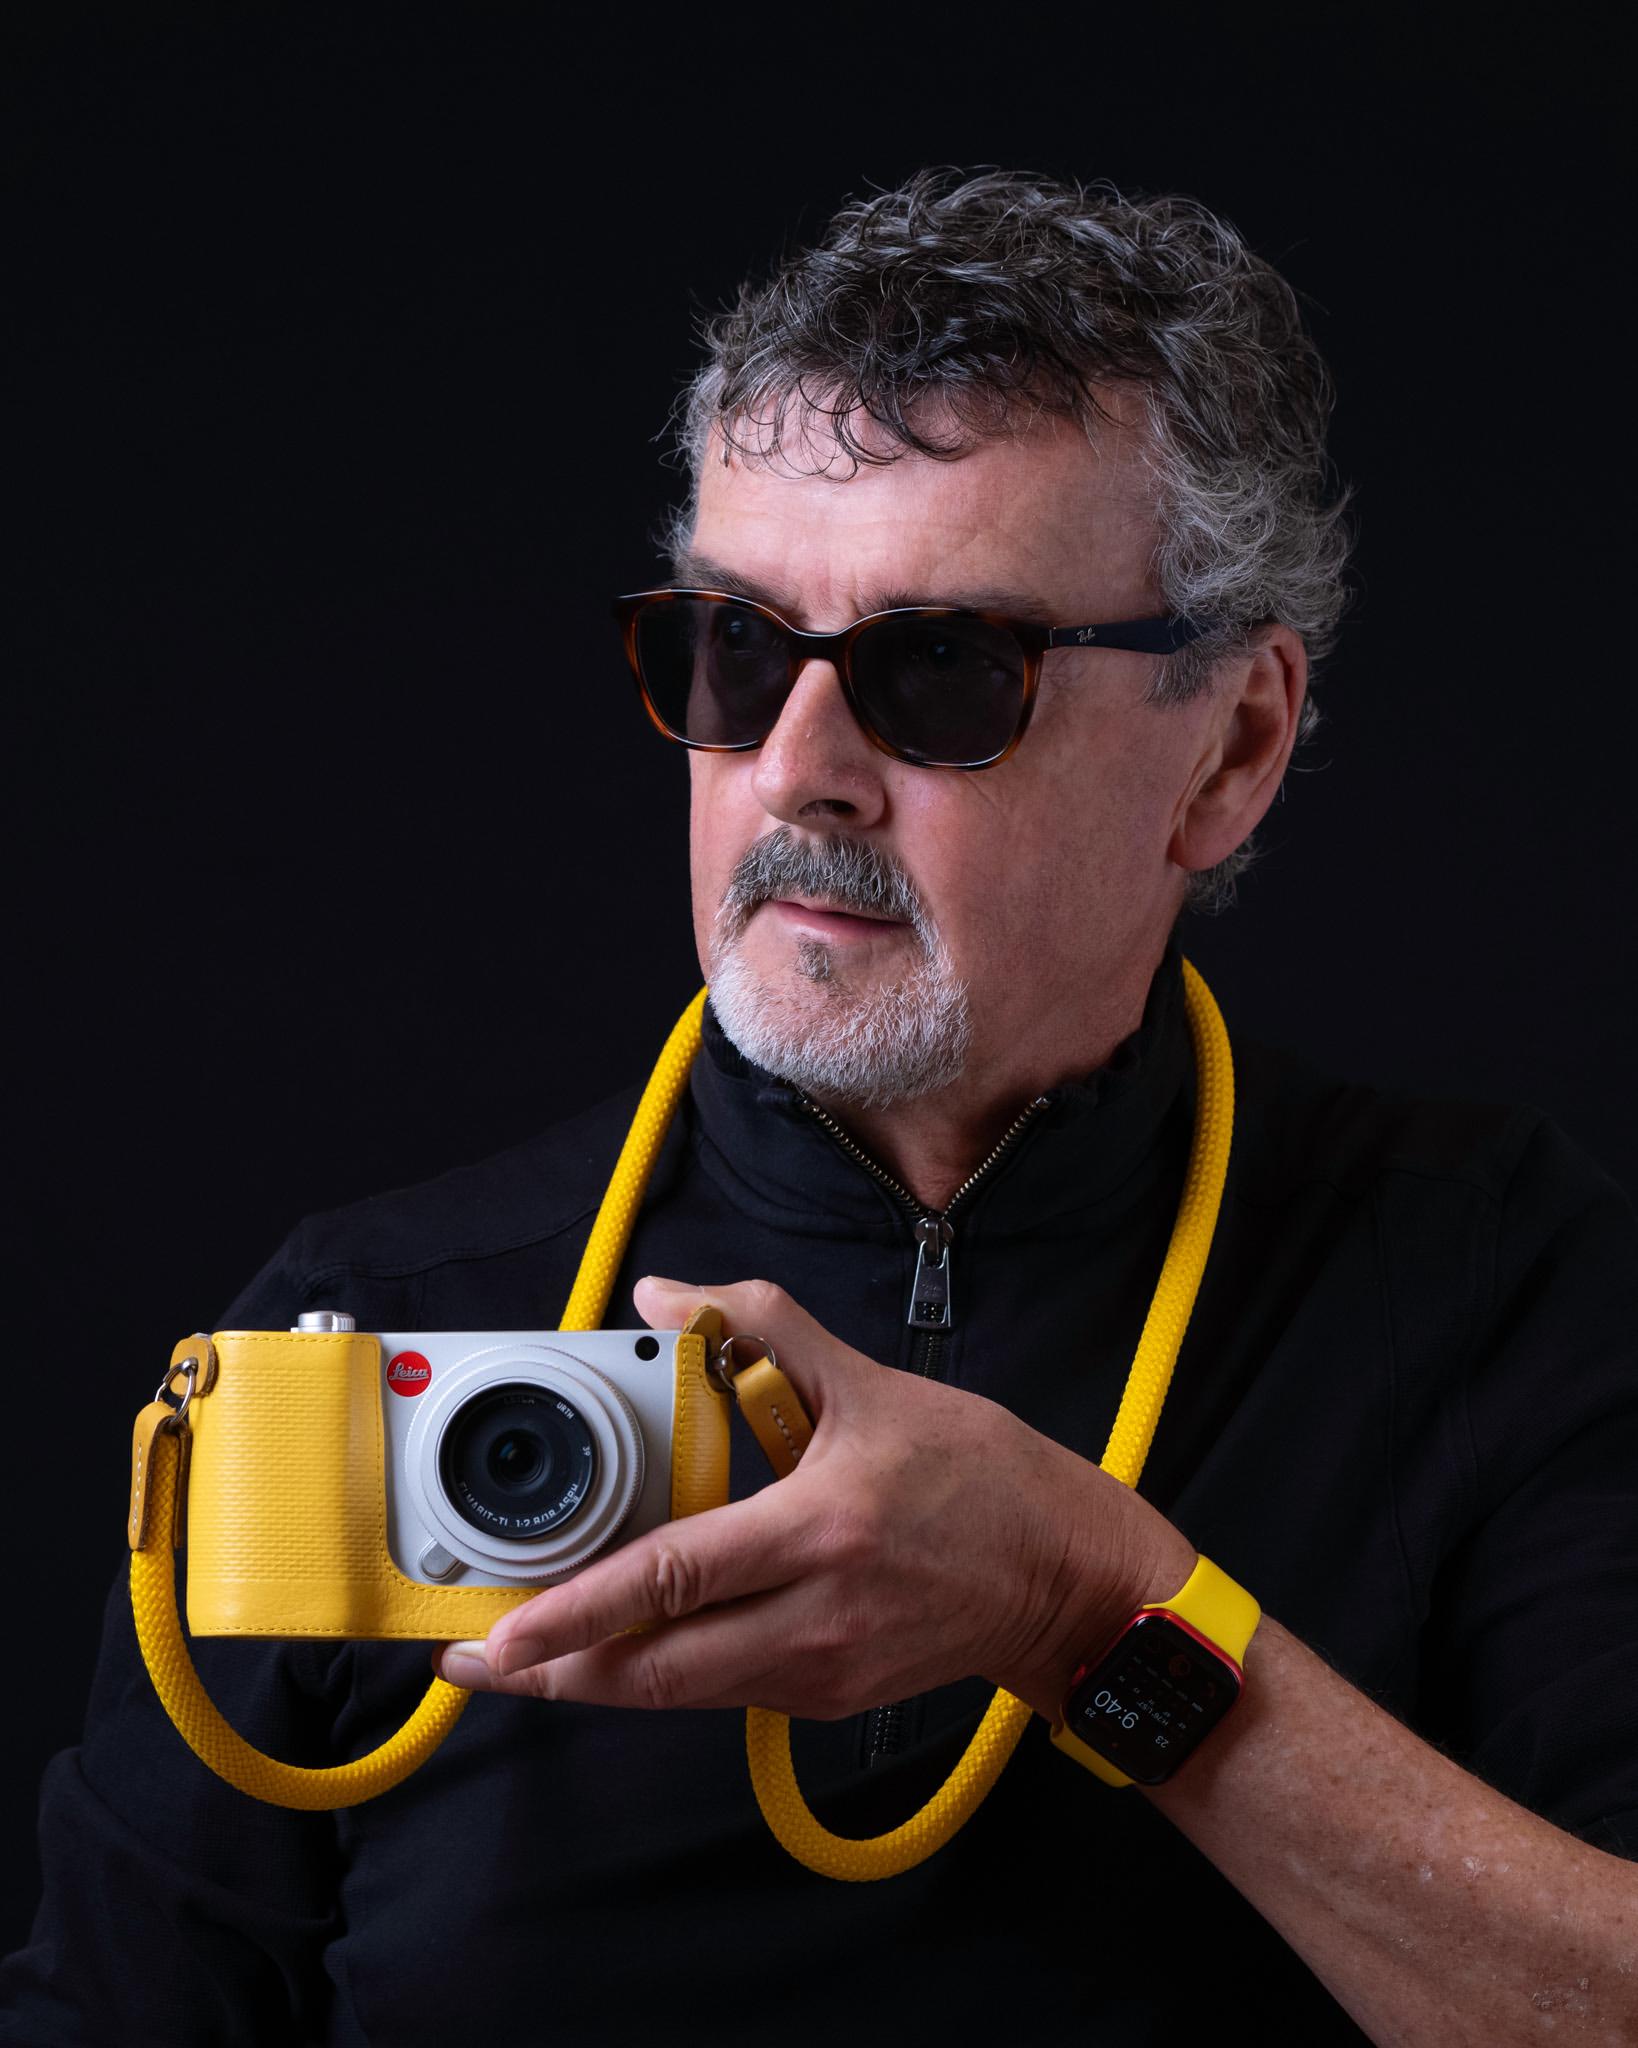
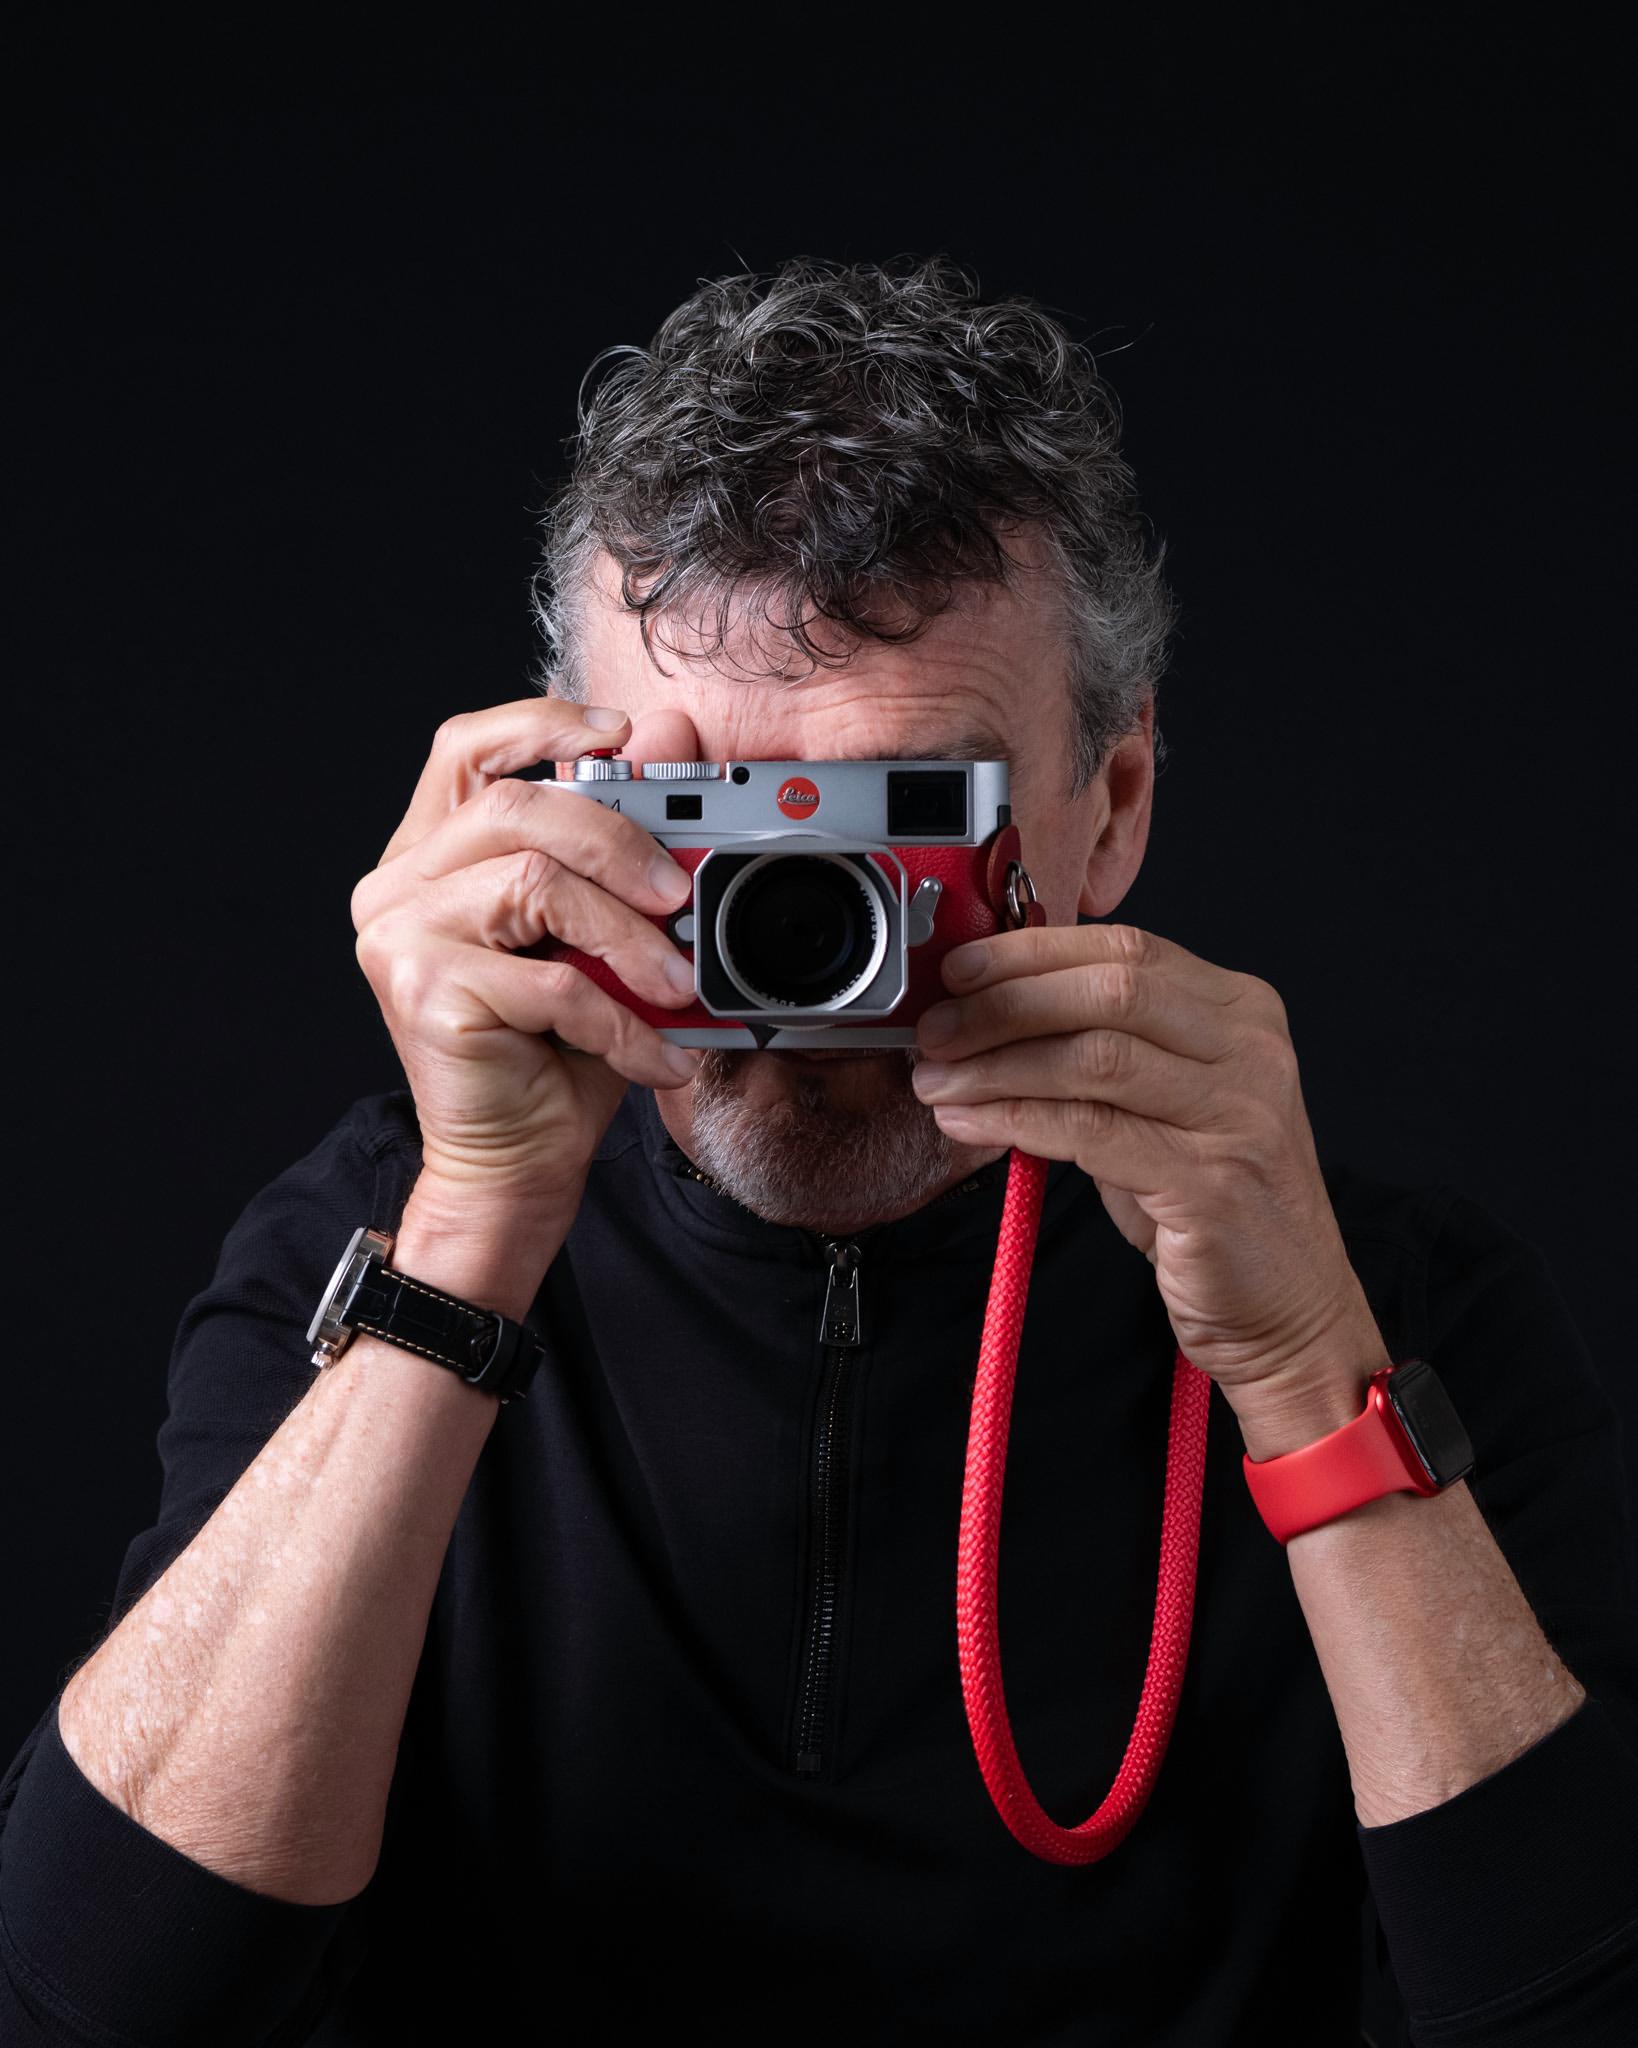
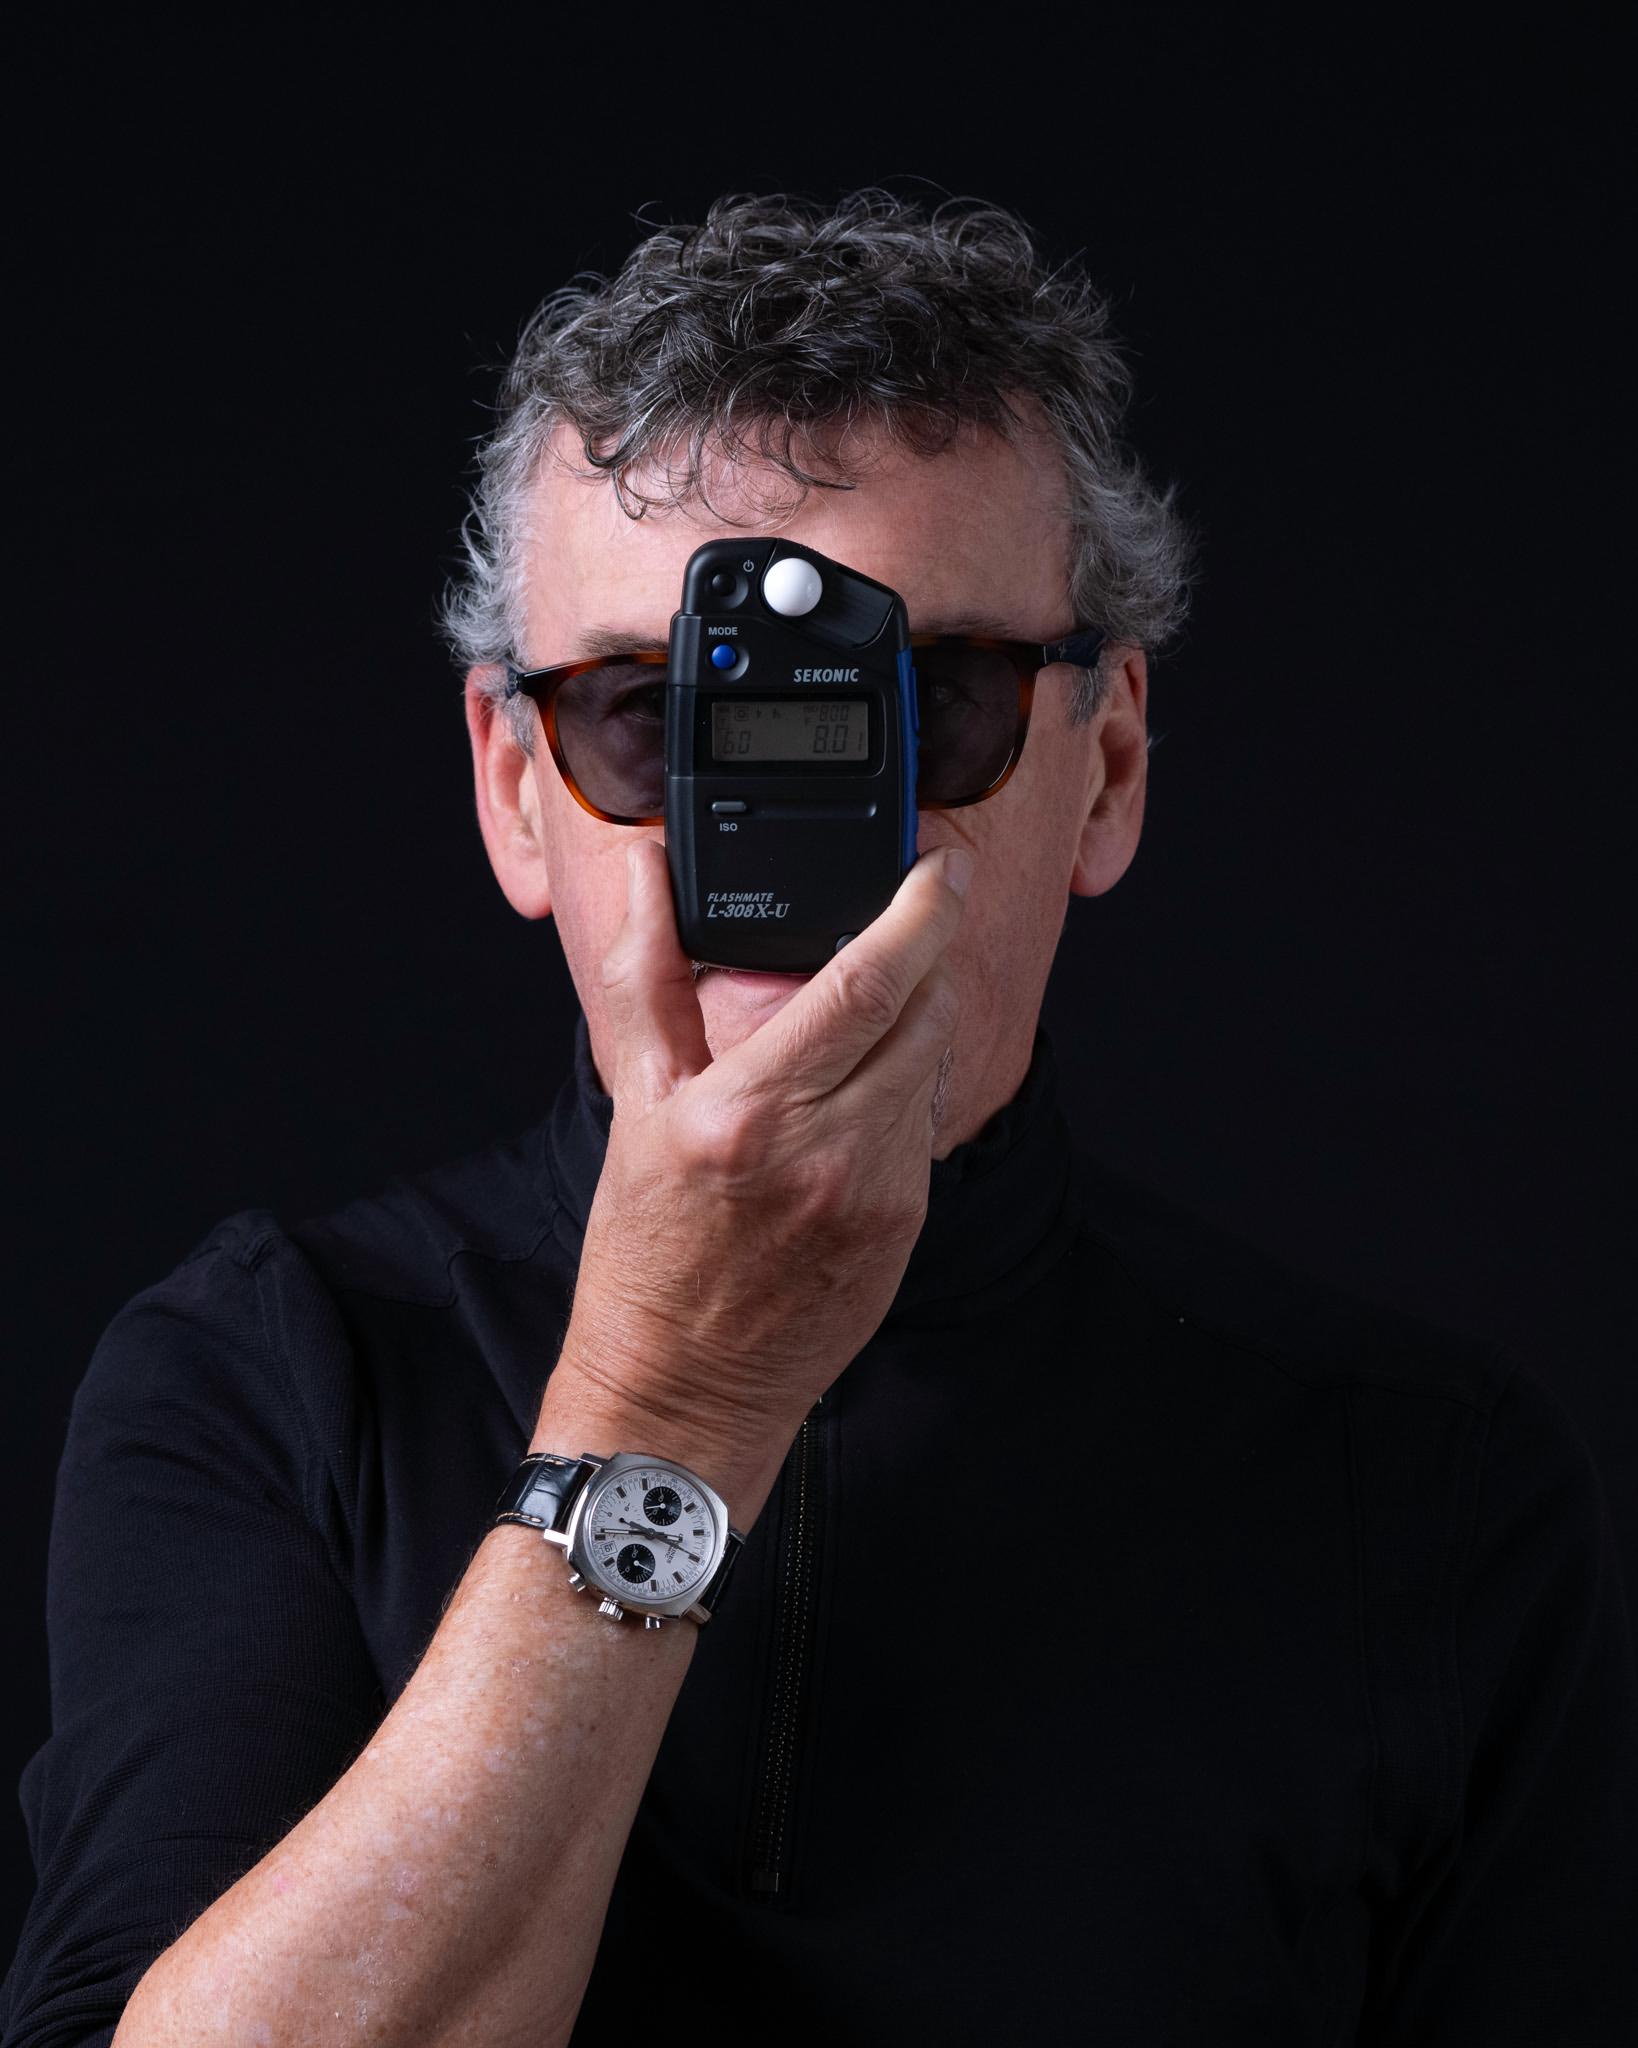
In the absence of someone to practice on, I have used self-portraits as a means of experimenting with different setups. I varied the pose and props to make the exercise more interesting.
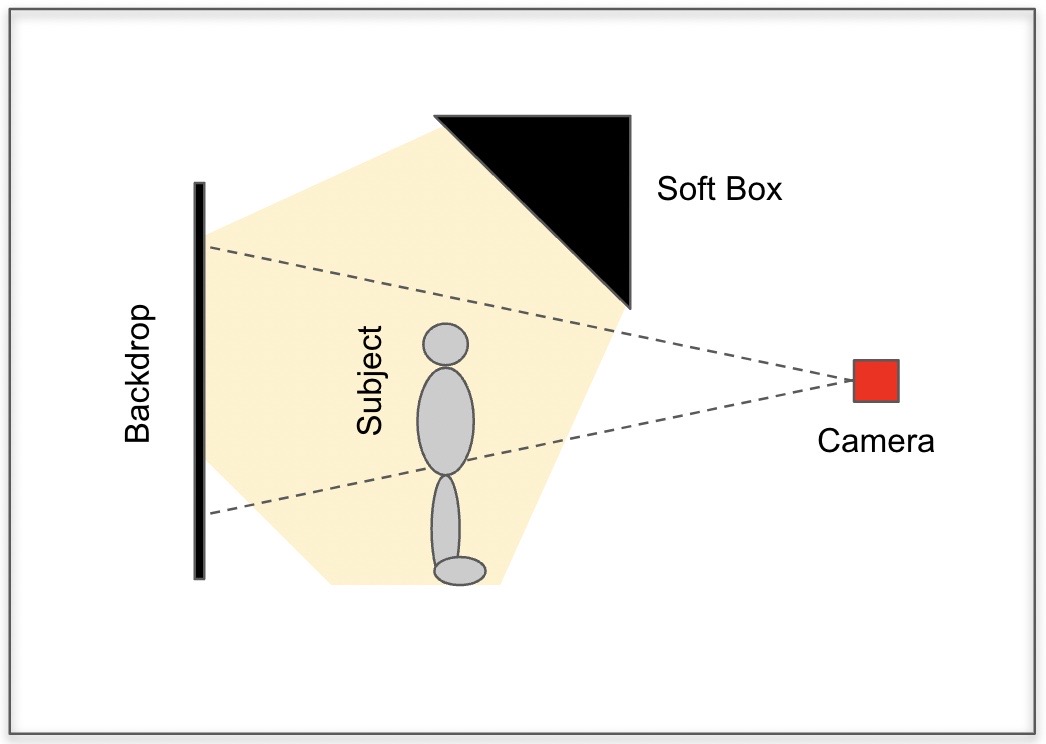
The basic arrangements for my makeshift home portrait studio go as follows.
Left: plan view of lighting setup. Right: side view of lighting setup
I have a large, collapsible, reversible backdrop, leaning against a bookshelf. I placed a counter stool around 5 feet (1.52 m) in front of that, with a small silver reflector just beside it. My ‘key’ light, was a 200W variable-power LED, in a 44-inch parasol soft box. I positioned this at around 45° to the stool, pointing down at around 45°. The soft box was fitted with both internal and external diffusers.
My camera was on a tripod, about 6-to-8 feet in front of the stool. I used a Panasonic Lumix 85mm, f/1.8 lens mounted on a Leica SL2. I shot in manual mode, setting ISO, aperture, and shutter speed according to the light meter. Estimating the correct focal plane was tricky, since I was behind the camera, not sitting in the stool. I placed some pillows on the stool, focused on them, and hoped for the best.
Using the camera’s 12-second self-timer camera, I grabbed a seat and adopted a pose before the shutter released.
Back in black
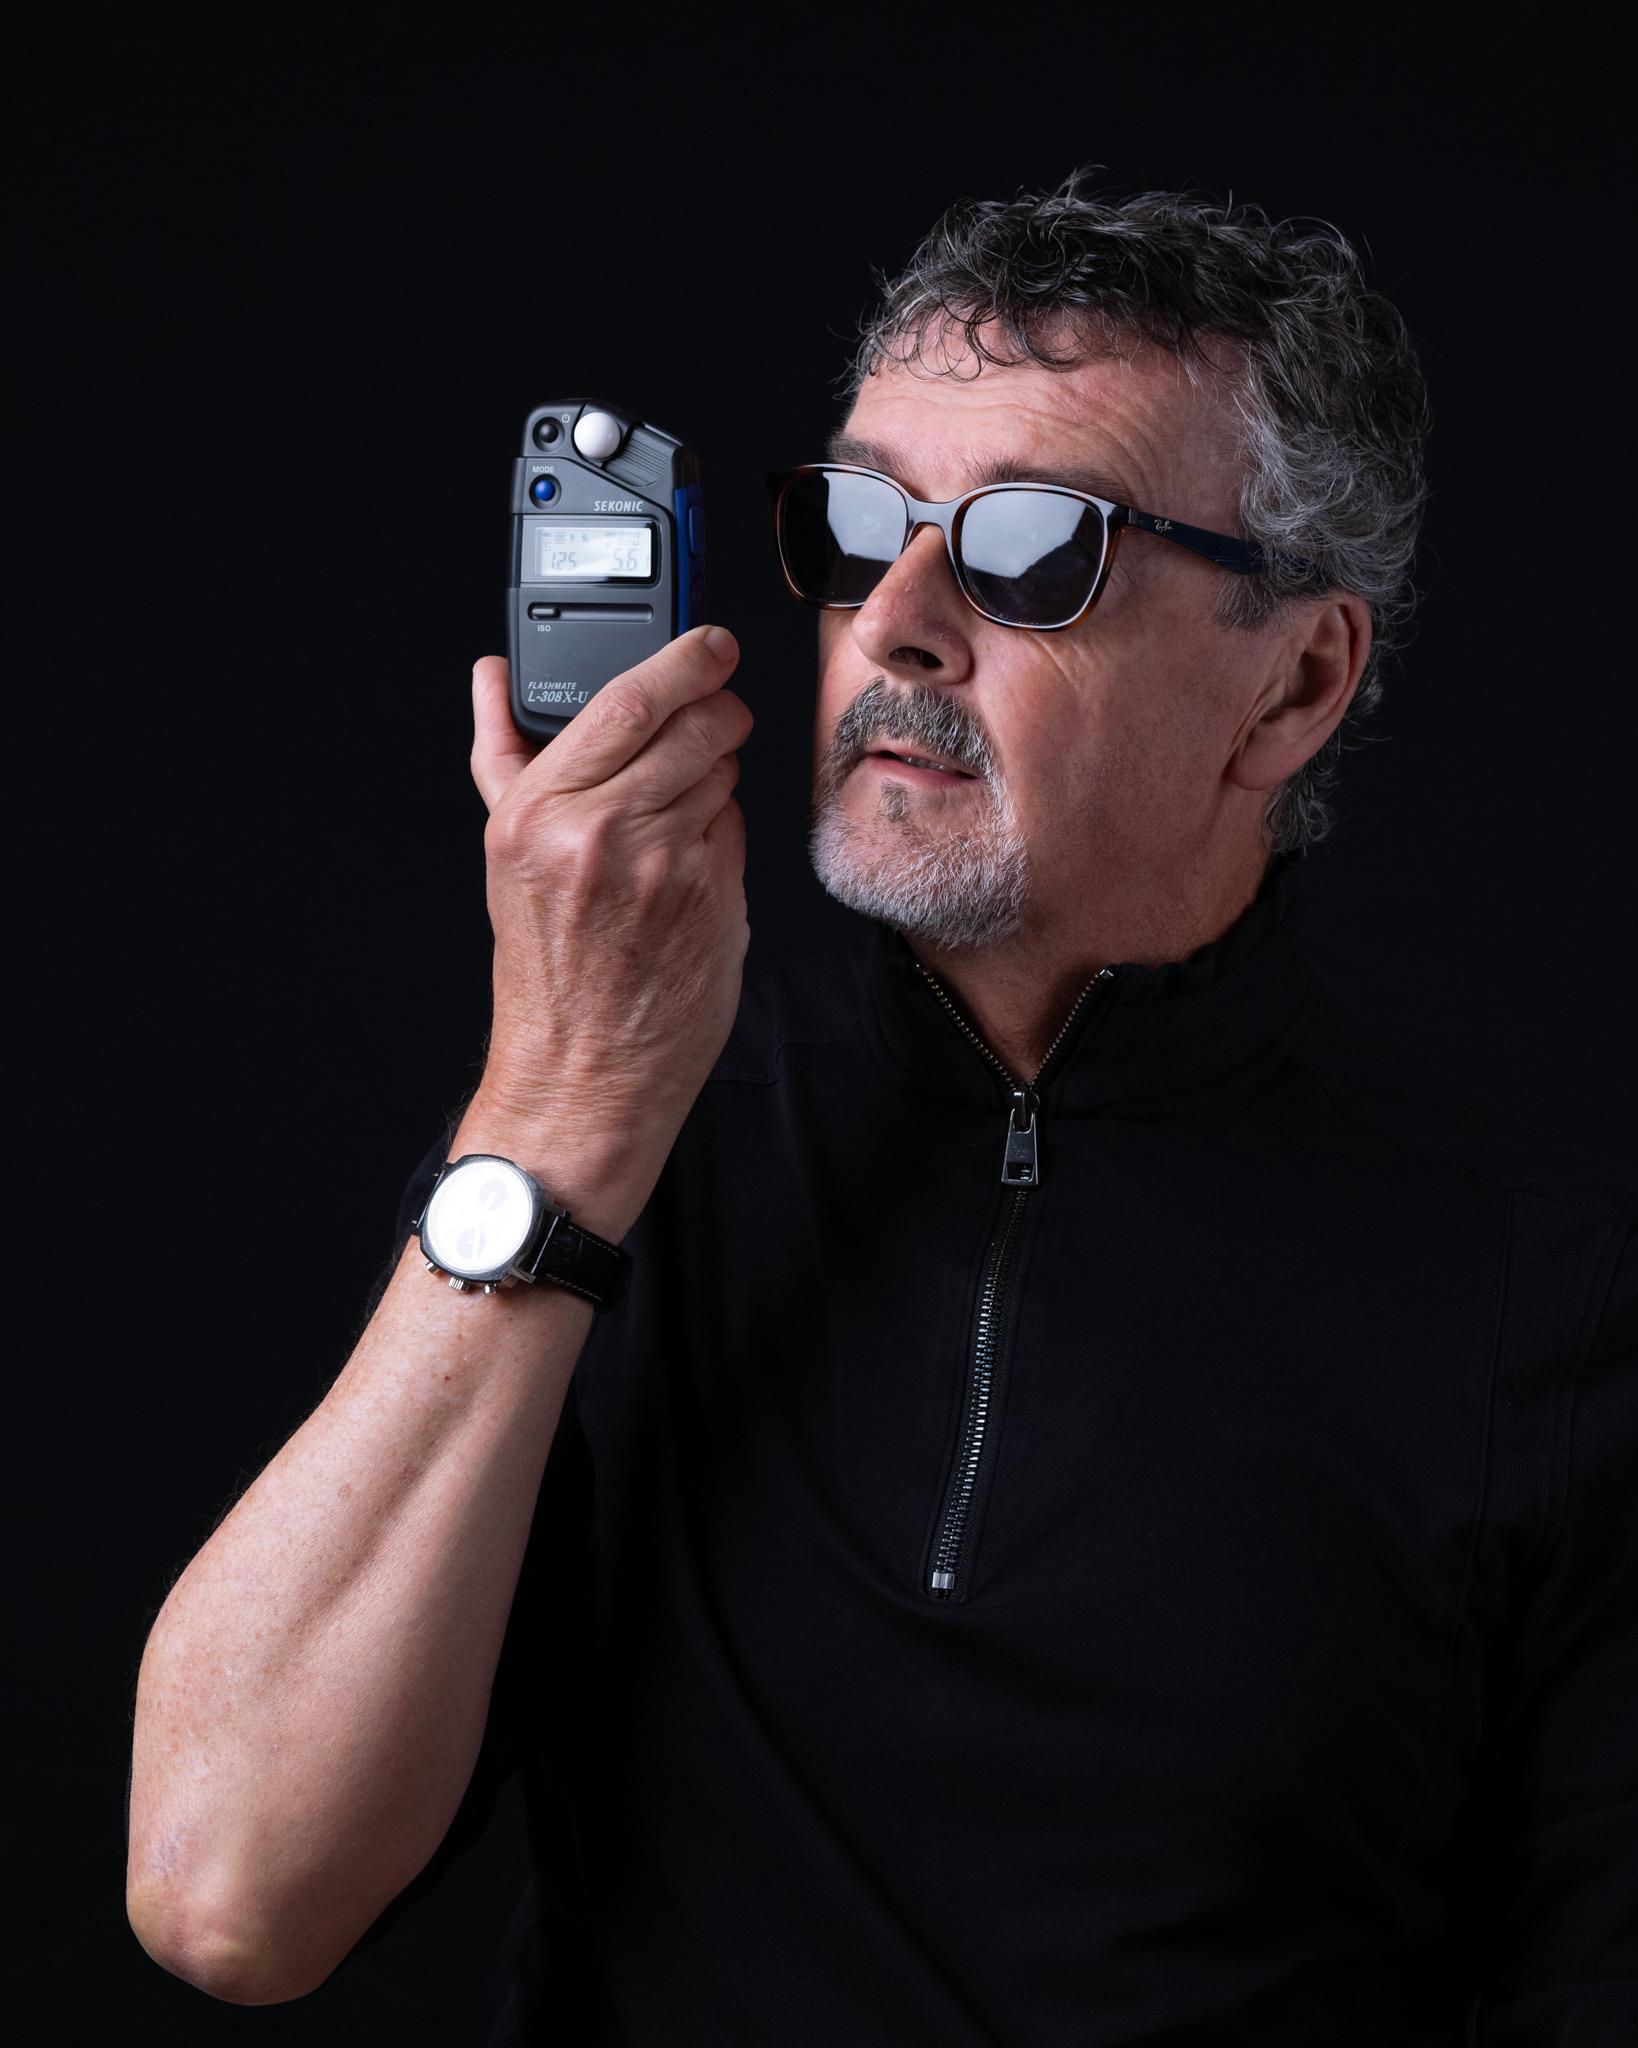
The first image out of the camera was perfectly focused and well exposed.
Having held the light meter up to my face, pointing directly at the camera, I achieved the effect I was hoping for.
The black backdrop was sufficiently far back to be jet black. The ‘distance-squared’ or ‘inverse-square’ law of exposure, was on my side here. Thus, for every doubling of distance from subject to sensor, the exposure drops four-fold. Relative to the subject (my face) the exposure of the backdrop was practically undetectable.
I chose black garments to further emphasize both my face, and the props included in several shots. The sunglasses were both for effect, and because in some shots I stared directly into the extremely bright light!
Bottom line
Overall, I think the photos look pretty good. In my view, they are also an improvement over the portraits I took without the help of a light meter.
The Sekonic Flashmate L-308X-U costs $279 plus tax in the US and £220 including tax in the UK (but varies a lot, look around). I can highly recommend it. It is small, easy to use, and seems to be accurate. There are other options out there, both more and less expensive. This model strikes a good balance between usability, performance, and cost.
A cup of coffee works wonders in supporting Macfilos
Did you know that Macfilos is run by a dedicated team of volunteers? We rely on donations to help pay our running costs. And even the cost of a cup of coffee will do wonders for our energy levels.


Used one of these for years, and recently made sure it was still working, as I have some upcoming lens tests for which I want to shoot portraits.
A very timely review. Many thanks.
Ed